

CRAFT DIFFICULTY:
Moderate
I have been noticing a lot of decorative accessories for the head lately. From the 70s hippie headbands to feather hair decals. More recently I've seen that this trend has turned to floral wreaths or headbands on places like Instagram or Tumblr or even the runway.
When my wondering eyes land on something they like I have to go see what something like this might cost. I started my search online and went to my usual go-to-places: eBay and Etsy. When I did, all I could find was either low priced lackluster bands of childlike flowers or extremely expensive and ornate bridal headpieces. Not really what I was looking for.
So I decided to make a little something for myself, and accomplished my task around $10!
I went to my local Joann's fabric store to pick up a couple of supplies.
Here's what I picked up:
 | ||
Crafting Wire $1
|

 |
| Silk Flowers with Wire Stems $3 each |
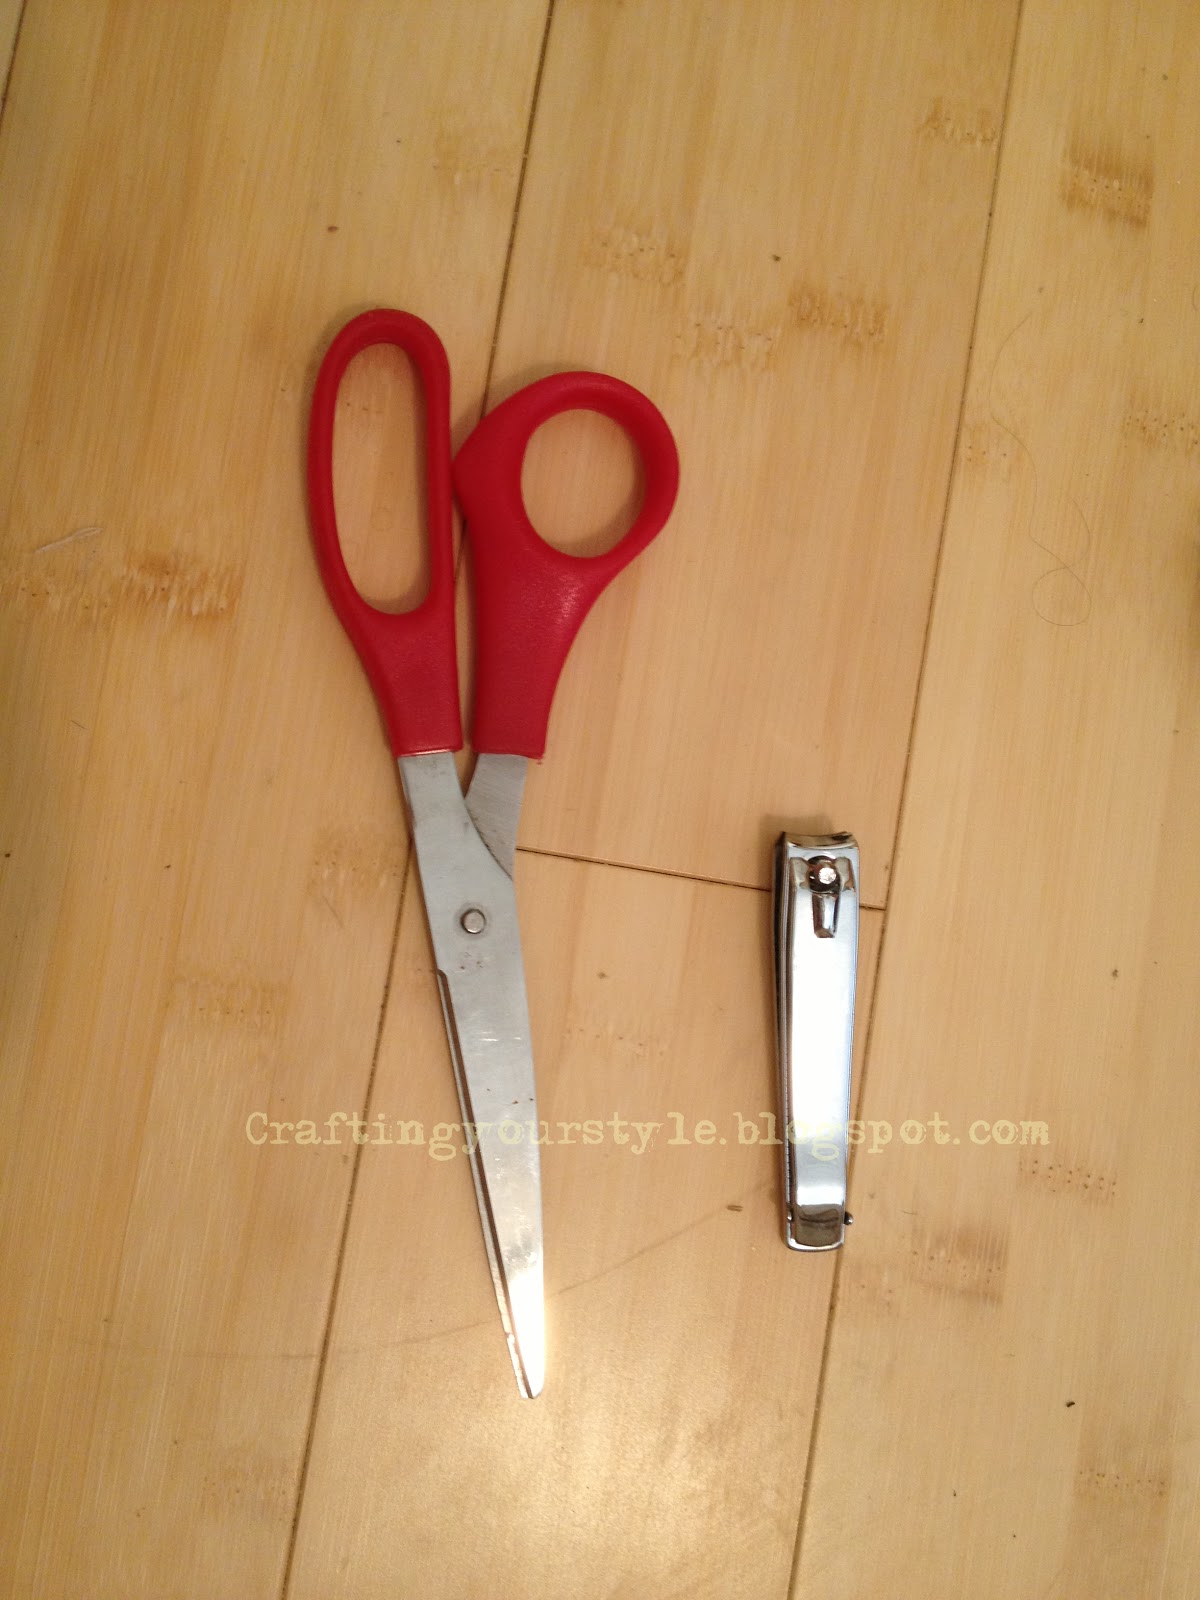
For this project you're going to need:
- Scissors
- Big nail clippers
- Sturdy sewing needle
- Thread that matches the color of your flowers
- String of faux pearls/beads/swarovski crystals (optional)
- Headband (I found mine at the 99cents store)
- Slik flowers (preferably those with wire in their stems)
- and craft wire (I chose black for this project to match my headband)
So the first thing you want to do for this project is play around with the positioning of the flowers on the headband. Its always easier to change something in the beginning rather than after it is put on. So what I like to do is cut each flower or leaf individually at the end of its stem. This way you can use secure your flower (or berries) using the stem.

In some cases the stems are really hard to cut because of a thicker part of plastic or wire. Using the nail clippers makes making this much easier.

This next step is optional. I wanted to dress up this headband a little bit so I decided I wanted to add pearls to the flowers. I am attaching the pearls by sewing them into the center of the flower. You will first need to string a needle and make sure the knot at the end is bid enough so the bead does't fall through.


Then, with your needle in hand start sewing down the middle of the flower's center and have the tip of the needle come out the back of the nearest petal, and string through.

Sew back through that same petal and come out the center of the flower and string another bead, and repeat this process till you have as many beads as you would like.

To secure the beads, weave the tip of the needle close to the base of the petal…

…and pull it through just to make a loop…

Loop the string a couple of times around the needle. About three or four times should be sufficient.

Pull tight, and put aside for later.

After you have all your pieces cut, and you have your flowers beaded. start playing around with different possible positions for your arrangement. When you decide what looks best for you, start with the lowest layer first. I like having the flowers to stand out against something so I started with the biggest leaves on the bottom.
(My leaves were a little bit wrinkled so to have them lay flat I ironed just the tops of them very gently under low heat of an iron.)

Start wrapping a piece of 3'' craft wire around the base of the leaf and position it on the headband. I like starting from one side and make my way around the headband.


Next, I really liked how the smaller leaf and the berries looked together. So I secured those first by wrapping them together with wire and then again to the headband near the first leaf.

Being sure to secure the twisted end of wire above the headband.

I wanted to add a little bit of contrast, since it is easy to get lost in the orange and yellows of the fall palette. So I added in a green leaf to my band.

Then added my main flower. Since this stem was a little thicker than the others I decided to wrap it a few more times to make sure it was really secure, and that the weight of the flower wouldn't pull it down. We don't want any droopy flowers!!

After securing my main flower to the band I wanted to go to the other side of the band and work my way inward.
(In a project like this it is easy to overdo the flowers so to prevent that I move away from what I'm doing and start on a different end. Simplicity is key!)

Then I filled in the rest!!


Enjoy Your New Floral Headband!!
No comments:
Post a Comment