Monday, November 12, 2012

DIY Cross Cut Out Shirt.


CRAFT DIFFICULTY: 
Moderate

I love the allure of a little skin showing. A little peek-a-boo skin under lace, crochet, or eyelet is something my eyes have always been drawn to. So when I started seeing cut outs on the runway and in lookbooks everywhere, I was intrigued. I think I first saw cut outs in dresses… pieces cut out from the sides or on the shoulders of shirts. Then they started getting crazy with cut outs on the back.

Which brings me to my other thing I love when it comes to showing a little (or a lot) of skin… the back!! I love backs, I feel the bare-backed ensemble is so sultry and if a woman can pull off a low back dress she looks confident and one can expect to be doing a double-take in her direction, just to get another glimpse. Any girl can wanting to look attractive can throw on a low-cut shirt or dress, yes they will probably get some attention, but with dresses that have a bare back it is a different kind of attention, a "wow, who is that girl?" kind of attraction and not "Hey baby, how you doin?" response.

A dramatic backed outfits are usually simple, typically with a high neckline, (which allows people to actually look at your face) and leaves a little element of surprise in the back that can be breathtaking.

The unexpected attention grabber (done tastefully) is something everyone should look for in an amazing outfit.

Lately, I have been seeing cut out backs in oversized tees. I have seen the heart cut outs, the skull, and the rib cages too. In this how-to I will be showing you how to do the cross.
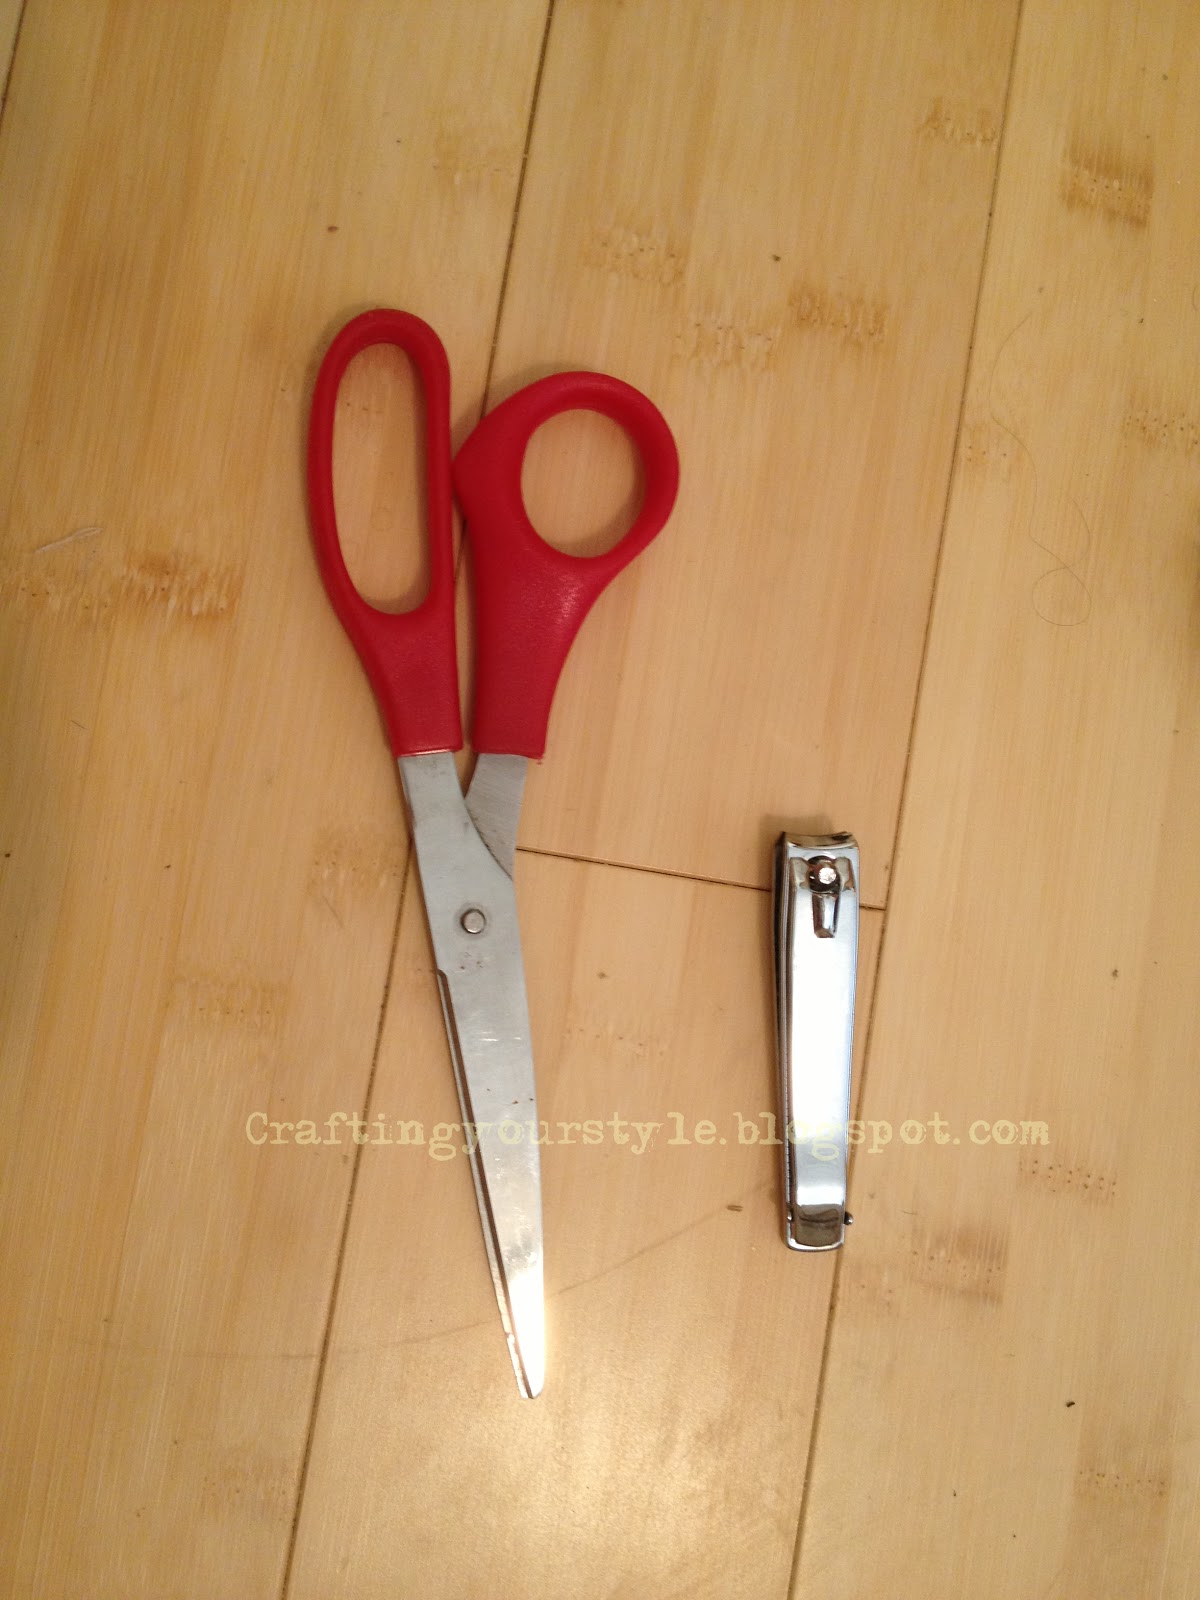

WHAT YOU WILL NEED:
-Scissors
-Oversized t-shirt
        (The size I used was adult small, but looking back I think I would like an even more
         relaxed fit. A medium would have been ideal)
-Cardboard or something to slip in between the layers of the shirt.
-1 Index card
-Ruler
-White Colored Pencil or something that would show up on your shirt.
         (a regular pencil should work or chalk pastel too)

1. First lay your t-shirt face down on your working space.

2. Slip your board in between the layers of your shirt.


3. Then with your ruler, measure the distance across the back of the shirt about 3-4 inches down from the collar line. With your white colored pencil, mark the center. Decide the width size you would like for the top of the cross, and make a line where the center is at the mark you made earlier, and set aside. (mine was about 6inches.) 


4. Now we're gonna make the template of the rectangle cut outs. With your scissors, cut a 1.5cm X 3cm rectangle from your index card. 

5. Place your rectangle template under the line you just made in step 3, and determine how many rectangles you would like to make up the width of the vertical part of your cross. (I decided that I liked four vertical rectangles across looked best for me. *NOTE: make sure that you're giving yourself enough space in between your rectangle shapes. After completing this shirt I would suggest at least a 1/4 inch.) 


6. Start tracing your shapes to make your first row.  


7. Then start the second row. Making sure you align the sides of the rectangles with the ones on the top row. 


8. I decided that for my cross I liked just the two rows for the top of the cross, but you can do however many you'd like. Next, you start the horizontal part of the cross. I had this cross section made up of horizontal rectangles. I started tracing from the inside out. Still making sure that the strip in the middle aligned with the precious rows. 


9. I decided to do 6 across and 3 down. 


10. To make sure that everything was coming out aligned, I ran a line on the tops and bottoms of the rectangles using the ruler. 


11. After the cross section is done you can complete the cross. Place your ruler up against the left side of the top two rows. This way you can align the bottom part of the cross with your previous work. 


12. Then fill in the rest of the rectangles to complete your cross design.  I liked the look of 5 more rows. 


13. Now your done with your cross design!! (Whooo!! now you only have the cutting is left.) 

14. So for this design to work the rectangles are being cut out and the spaces between them stay intact. 


15. Now cut the rest of the rectangles out. 


16. And you're done!! :) 


ENJOY YOUR NEW CUT OUT SHIRT!! 


Thursday, November 8, 2012

Make Your Own Button Earrings.


So I was thinking the other day, that I have so many nick-nacks and things that I have been saving because I thought I can potentially make something out of one day. I have boxes of old clothes from my mom or that I have just gathered over time, from which I plan to upcycle the fabric. I also have old hair accessories, chains, thread, and earrings who have lost their other half. You name it! I probably have it.

I decided that I was becomming a little bit of a pack rat, and for fear of becomming a hoarder, I decided I  wanted to make something from the things that I already had, then I thought: "what is the easiest and simplest tutorial I can make for beginners to DIY fashion?" and then it hit me.. *SMACK*: earrings!!

I pondered for a second what I might make my earrings out of. Then realized I had so many buttons that I had to do make my earrings out of the mosaic of colors that was in my button jar.

*NOTE: In this earring tutorial I use buttons, but really you can use anything with a flat back... You can use shells, rhinestones, beads, studs... essentially anything that can be flattened on one side.

Earrings are so simple to make, and can be very elegant or very edgy, depending on what you use for your earring, you can change your look up or down and just with a little accessory.


CRAFT DIFFICULTY: 
Easy


In this DIY tutorial you are gonna need:

-2 Matching (or not matching) Buttons
  (*NOTE: The buttons you choose should have flat backs or a loop you can break off to make them
   flat. Buttons that have a pointed back will not work for this tutorial!! Plastic ones work best.)

Here are the buttons I chose.

-Scissors
-Super Glue
-Flat Pad Earring Posts and Backs (you can find packs of these at any craft store for around $2)


-Metal File (the bigger the better)

I chose this one but ended up having to use a
bigger one later. The more ridges the better!!

1. Once you have chosen the buttons you want as a piece of jewelry, make sure the backs are flat. If they still have a loop and they are plastic, use your scissors to clip the loop as close as possible to the base of the loop. If you have a metal button (like mine), this part is  little trickier. So you might have to bend back and forth (like a paperclip) the loop until it breaks off. If this does not work just continue to step two.

2. File any remaining ends of the loop that are sticking out. Try to make it as level as possible. If you are working with a difficult metal loop and couldn't snap it off in step one, then you are going to have to file the loop all the way down. It takes forever with a small metal file but with a bigger one, the ridges are bigger and with every swipe it takes off more metal than the smaller sizes.


3. Make sure both button backs are evenly flat.

4. Take one earring post and carefully put a drop or two of super glue on it. Be careful not to get any on your skin because it takes forever to get out. My super glue was extremely runny and landed on my floor!! Be aware that most super glue is not as tacky as most school glues.


5. Wait about 30 seconds then attach the button, filed side onto the super glued end of the post.

6. Carefully lay the button end face down so the post end is sticking up in the air. Make any adjustments to the post hile it is still drying to make sure that the post and the button make a 90 degree angle.


7. Repeat steps 4-6 to the second button.

8. Leave the drying earrings in a safe place over night so they can dry.


9. Next day.. ENJOY YOUR NEW HOMEMADE EARRINGS!!


Monday, October 29, 2012

Floral Headband.


CRAFT DIFFICULTY: 
Moderate


I have been noticing a lot of decorative accessories for the head lately. From the 70s hippie headbands to feather hair decals. More recently I've seen that this trend has turned to floral wreaths or headbands on places like Instagram or Tumblr or even the runway.

When my wondering eyes land on something they like I have to go see what something like this might cost. I started my search online and went to my usual go-to-places: eBay and Etsy. When I did, all I could find was either low priced lackluster bands of childlike flowers or extremely expensive and ornate bridal headpieces. Not really what I was looking for.

So I decided to make a little something for myself, and accomplished my task around $10!
I went to my local Joann's fabric store to pick up a couple of supplies.

Here's what I picked up:
Crafting Wire $1

Faux Pearls $6

Silk Flowers with Wire Stems $3 each


For this project you're going to need:

  • Scissors 
  • Big nail clippers
  • Sturdy sewing needle 
  • Thread that matches the color of your flowers
  • String of faux pearls/beads/swarovski crystals (optional) 
  • Headband (I found mine at the 99cents store)
  • Slik flowers (preferably those with wire in their stems)
  • and craft wire (I chose black for this project to match my headband) 


So the first thing you want to do for this project is play around with the positioning of the flowers on the headband. Its always easier to change something in the beginning rather than after it is put on. So what I like to do is cut each flower or leaf individually at the end of its stem. This way you can use secure your flower (or berries) using the stem.


In some cases the stems are really hard to cut because of a thicker part of plastic or wire. Using the nail clippers makes making this much easier.


This next step is optional. I wanted to dress up this headband a little bit so I decided I wanted to add pearls to the flowers. I am attaching the pearls by sewing them into the center of the flower. You will first need to string a needle and make sure the knot at the end is bid enough so the bead does't fall through. 


Then, with your needle in hand start sewing down the middle of the flower's center and have the tip of the needle come out the back of the nearest petal, and string through.


Sew back through that same petal and come out the center of the flower and string another bead, and repeat this process till you have as many beads as you would like. 


To secure the beads, weave the tip of the needle close to the base of the petal…


…and pull it through just to make a loop…


Loop the string a couple of times around the needle. About three or four times should be sufficient.  


Pull tight, and put aside for later.


After you have all your pieces cut, and you have your flowers beaded. start playing around with different possible positions for your arrangement. When you decide what looks best for you, start with the lowest layer first. I like having the flowers to stand out against something so I started with the biggest leaves on the bottom. 

(My leaves were a little bit wrinkled so to have them lay flat I ironed just the tops of them very gently under low heat of an iron.)


Start wrapping a piece of 3'' craft wire around the base of the leaf and position it on the headband. I like starting from one side and make my way around the headband. 

Twist very closely to the headband to secure the leaf in place. If there is left over wire cut the ends with scissors, then bend and tuck the twisted end under the leaf, but above the headband so that when you put on the band it does not poke you.


Next, I really liked how the smaller leaf and the berries looked together. So I secured those first by wrapping them together with wire and then again to the headband near the first leaf.


Being sure to secure the twisted end of wire above the headband.


I wanted to add a little bit of contrast, since it is easy to get lost in the orange and yellows of the fall palette. So I added in a green leaf to my band.


Then added my main flower. Since this stem was a little thicker than the others I decided to wrap it a few more times to make sure it was really secure, and that the weight of the flower wouldn't pull it down. We don't want any droopy flowers!!


After securing my main flower to the band I wanted to go to the other side of the band and work my way inward. 

(In a project like this it is easy to overdo the flowers so to prevent that I move away from what I'm doing and start on a different end. Simplicity is key!) 


Then I filled in the rest!!


Enjoy Your New Floral Headband!!